Brow arch angle
Brow arch angle describes how sharply the brow bends at its peak. A smaller interior angle creates a stronger arch; a larger angle creates a flatter brow. The app averages the angles on both sides.
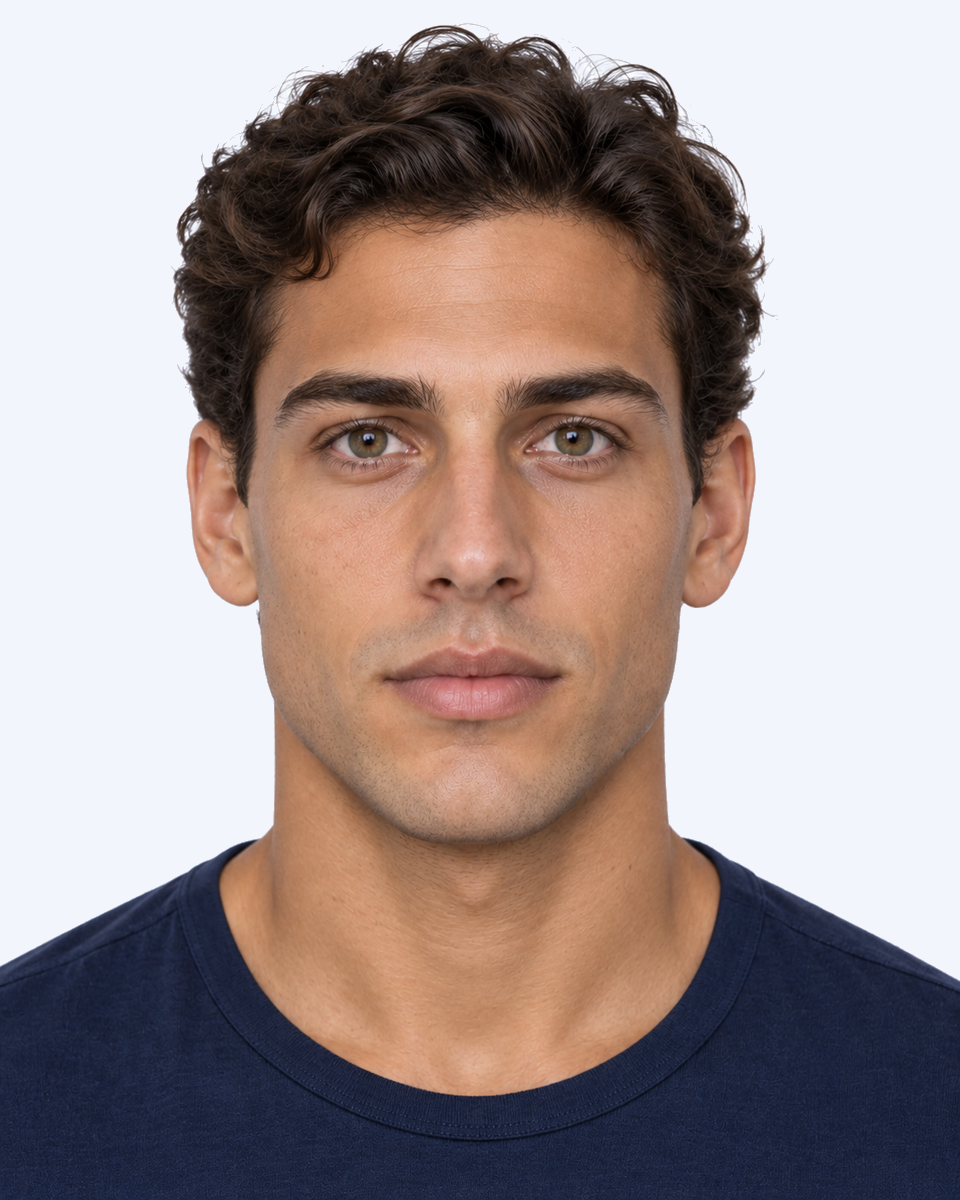
+141.73°
Brow arch angle
the average angle at the brow peaks.
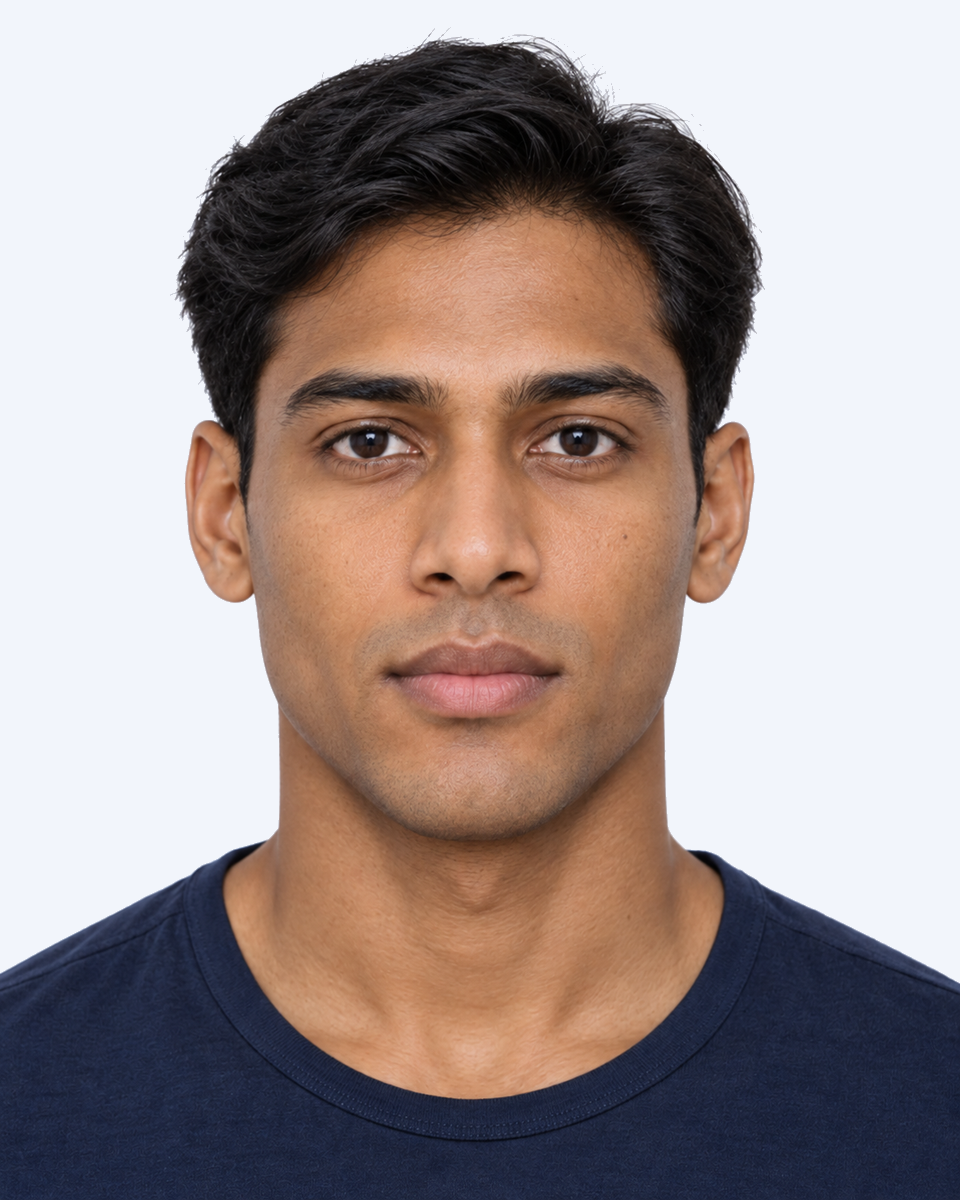
The lines mark brow arch angle.
What different angles look like
Compare lower and higher values with the original portrait in the centre.
Same model, lower and higher values
Brow shape
A smaller angle produces a more pointed change in direction between the rising inner section and falling tail. A larger angle makes the brow more horizontal and continuous.
The surrounding eye region
Arch angle and peak position describe different parts of brow shape. Two brows can have the same angle but place their peak at different points along the length. Brow thickness can soften a pointed arch or give a flat brow more prominence.
Male-model reference and app range
Pietruski and Majak reported an average internal brow angle of 127.79 ± 11.2° in their male-model sample. The app reference of 116.6–139.0° follows that mean plus or minus one standard deviation.
The study describes a selected group of male models, rather than testing which value maximises attractiveness.
Measurement endpoints
Join the highest point on the upper brow to its inner endpoint and tail. Measure the interior angle where the lines meet.
Reading your result
The app reference is 116.6–139.0°. Below it: A more pronounced brow arch. Above it: A flatter brow arch.
Inspect both sides as well as the average. A similar combined value can come from matching brows or from different left and right measurements.
How we measure it
The interior angle where the inner and outer sections of the brow meet at its peak.
- 1
Join the highest point on the upper brow to its inner endpoint and tail. Measure the interior angle where the lines meet.
- 2
Measure both brows separately, then average the results. Millimetre values are estimates from the photograph.
Getting a clear photograph
- Raising or frowning the brows moves their contours. Keep the forehead relaxed.
- Face the camera directly with naturally open eyes. Head turn can distort brow width and height.
- Grooming, sparse tails and shadows can make the brow edge difficult to see.
Check the marked points
- Check that inner endpoints and tails sit on the intended visible brow borders.
- Check the upper contour and selected peak where the guide uses them.
- Confirm that the pupil centres are placed consistently, then inspect each side’s lines.
Measure your brow arch angle
Upload a front-facing photograph to see your result and review the marked points.
Sources
- 1 The Male Eyebrow and Eyelid: An Anthropometric Analysis of White Professional Models
Describes brow dimensions, arch and position in 300 White professional male models.
- 2 Glowometry front-view measurement protocol
Explains the app’s landmark conventions and selected reference bands.
Related guides
Brow length
The full horizontal span of each eyebrow, from its inner edge to its tail.
Brow peak position ratio
Where the highest point of the brow falls along its full horizontal length.
Pupil-to-brow distance
The vertical separation between the pupil centre and the lower brow contour.
Pupil-to-brow peak distance
The vertical height of the upper brow peak above the pupil centre.